How to publish multiple Standard Site publications on one domain
How CodeTV is publishing each of our series on atproto as its own Standard Site publication.
One of my first thoughts when I started tinkering with Standard Site and AT Protocol was, “can I use this to publish each series as its own publication?”
And it turns out I can! And the good news is that it only requires a few steps for each series.
Step 1: Create a new publication record
I referenced the Standard Site publication lexicon to put together the record:
{ "$type": "site.standard.publication", "url": "https://codetv.dev/series/web-dev-challenge", "name": "Web Dev Challenge (a CodeTV production)", "description": "Teams of developers build unique apps in just 4 hours.", "icon": { "$type": "blob", "ref": { "$link": "bafkreiejwkdrz74dbk54cuxbia62cv4tjt3bf34yqqx2ne3ddkcwgnieta" }, "mimeType": "image/jpeg", "size": 212367 }, "createdAt": "2024-06-26T19:00:00.000Z", "preferences": { "showInDiscover": true }}Step 2: Publish the publication record on atproto
Once the record was ready, I used Taproot to publish the record. Again, this could be automated, but Taproot is extremely friendly to use so I just created these manually.
- Log in on Taproot
- View your own account (click your username in the dropdown off your avatar)
- Click the “create record” icon in the top right
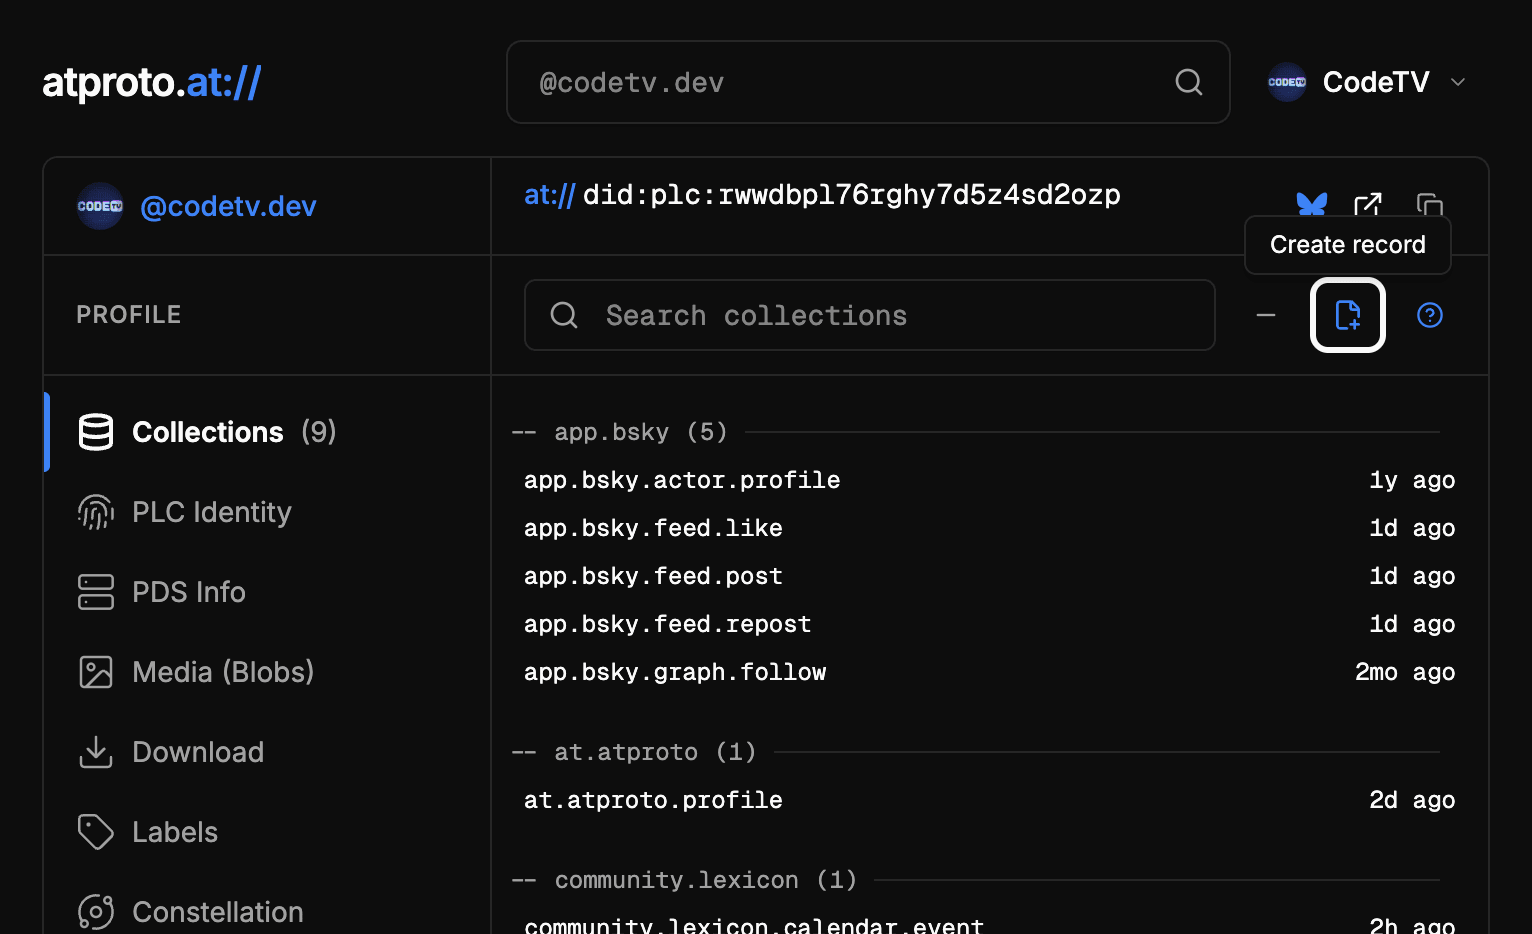
The “create record” button is in the top right when you're logged in and have permissions to create records for the current account. - Paste the new record into the “Record Content” field
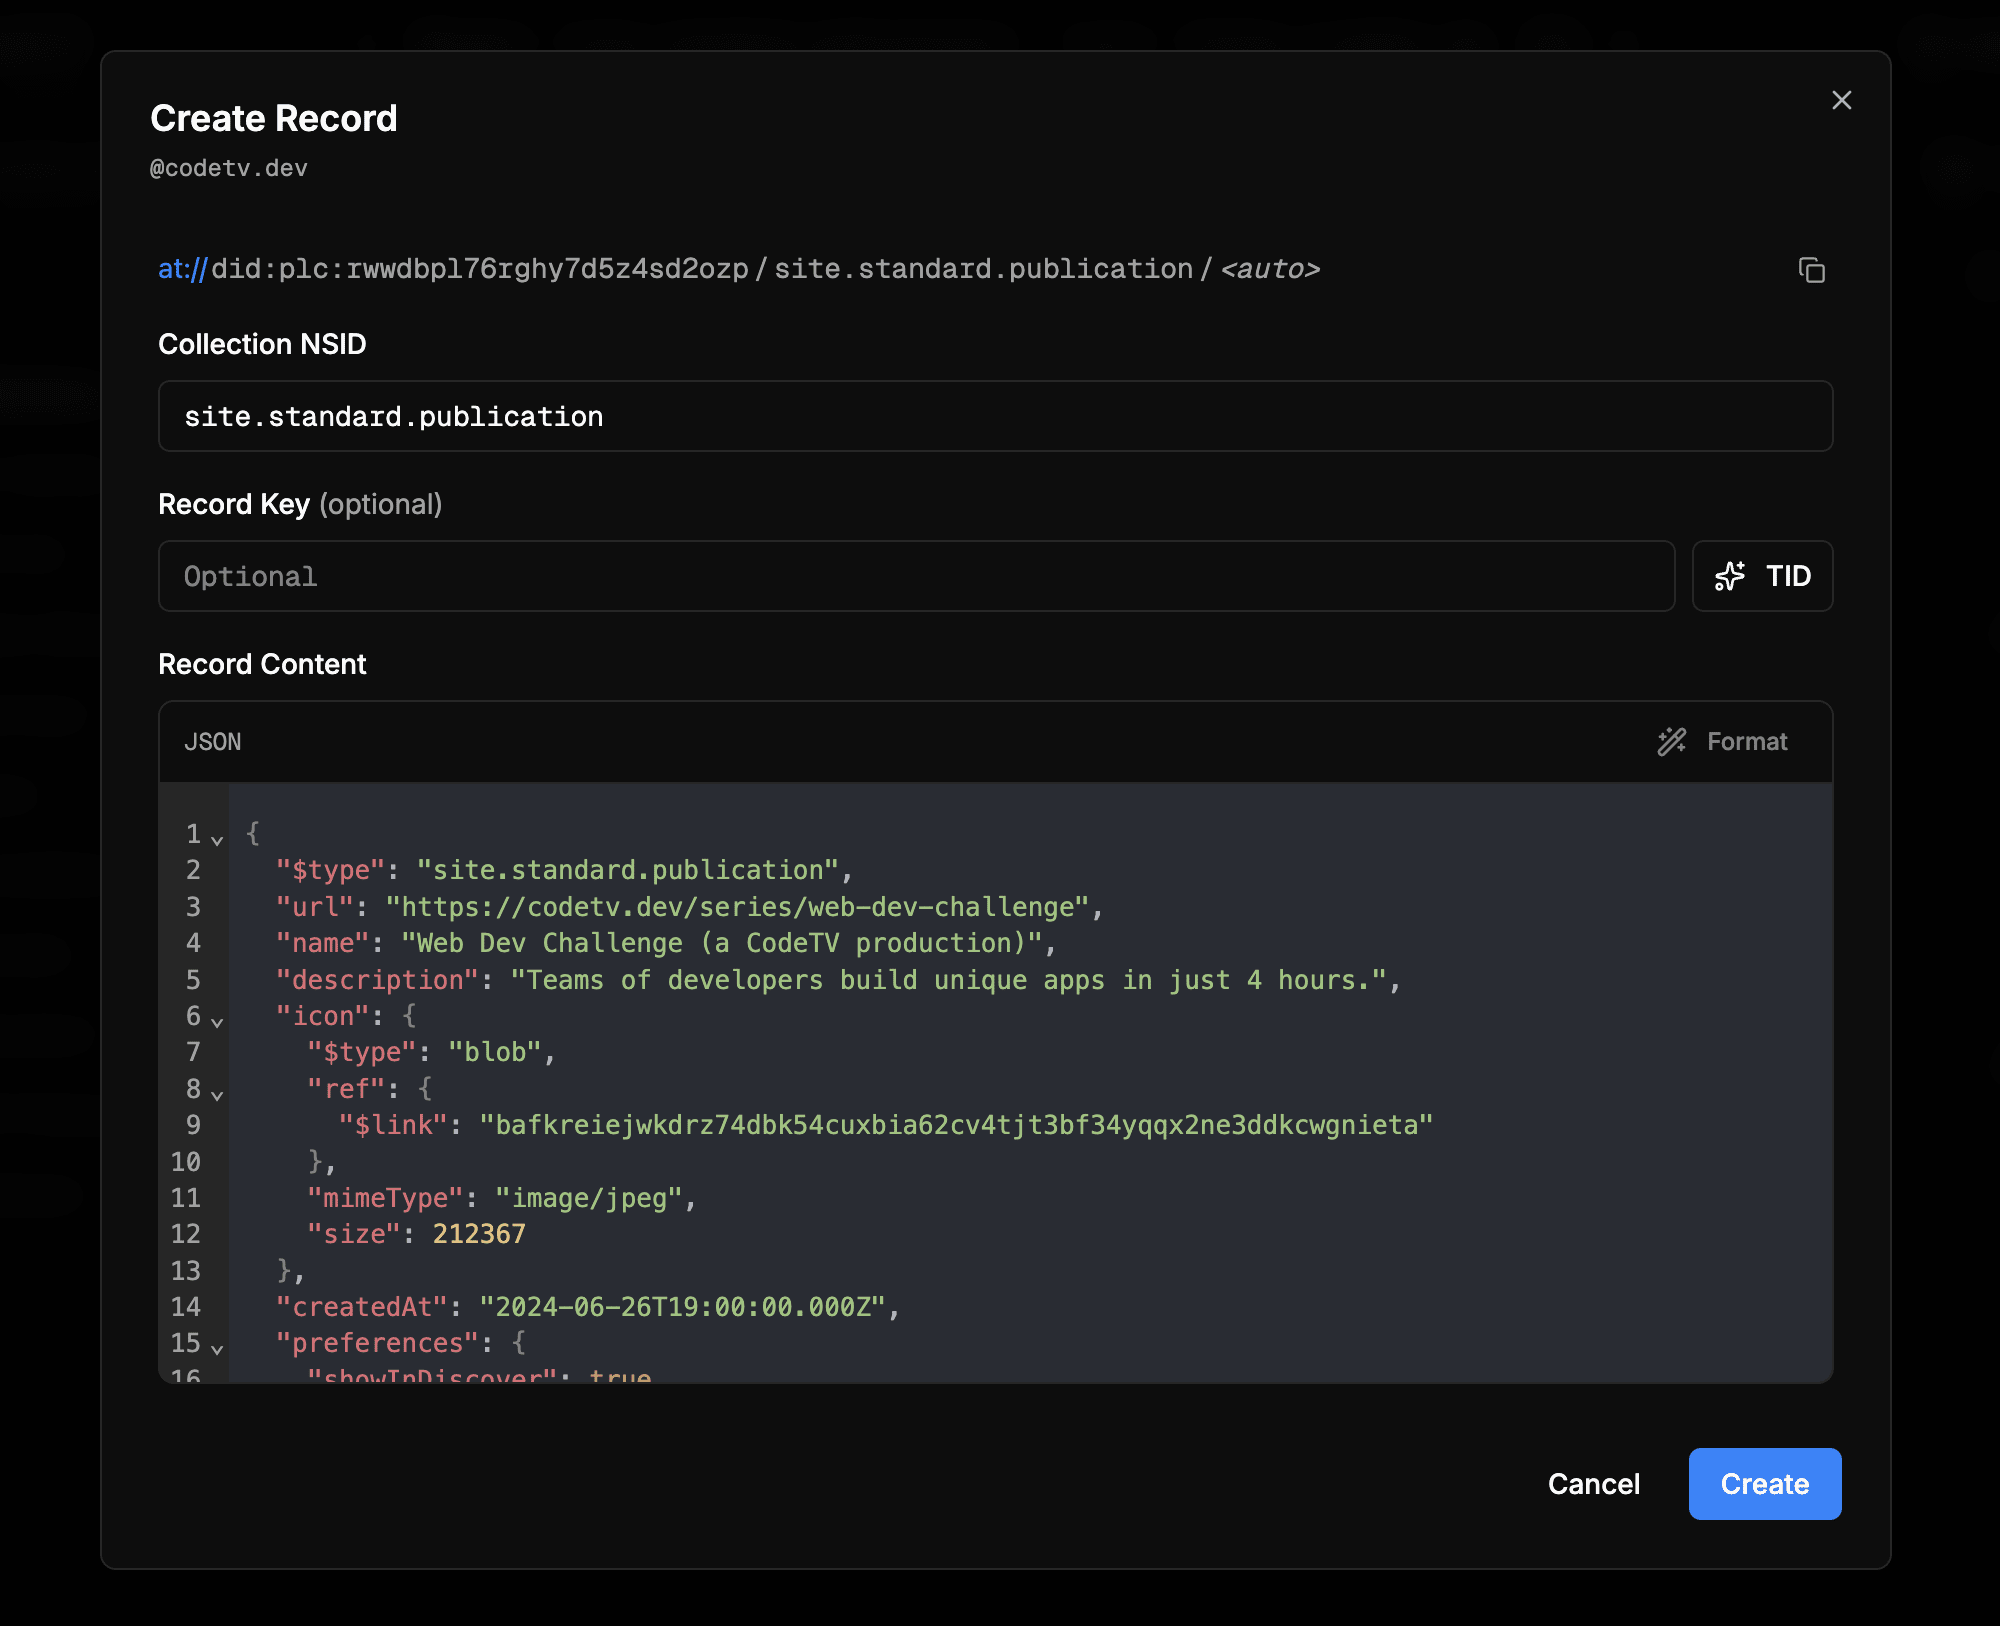
Create the new record using Standard Site’s publication lexicon. - Click “create”
- Copy the newly created
at://URI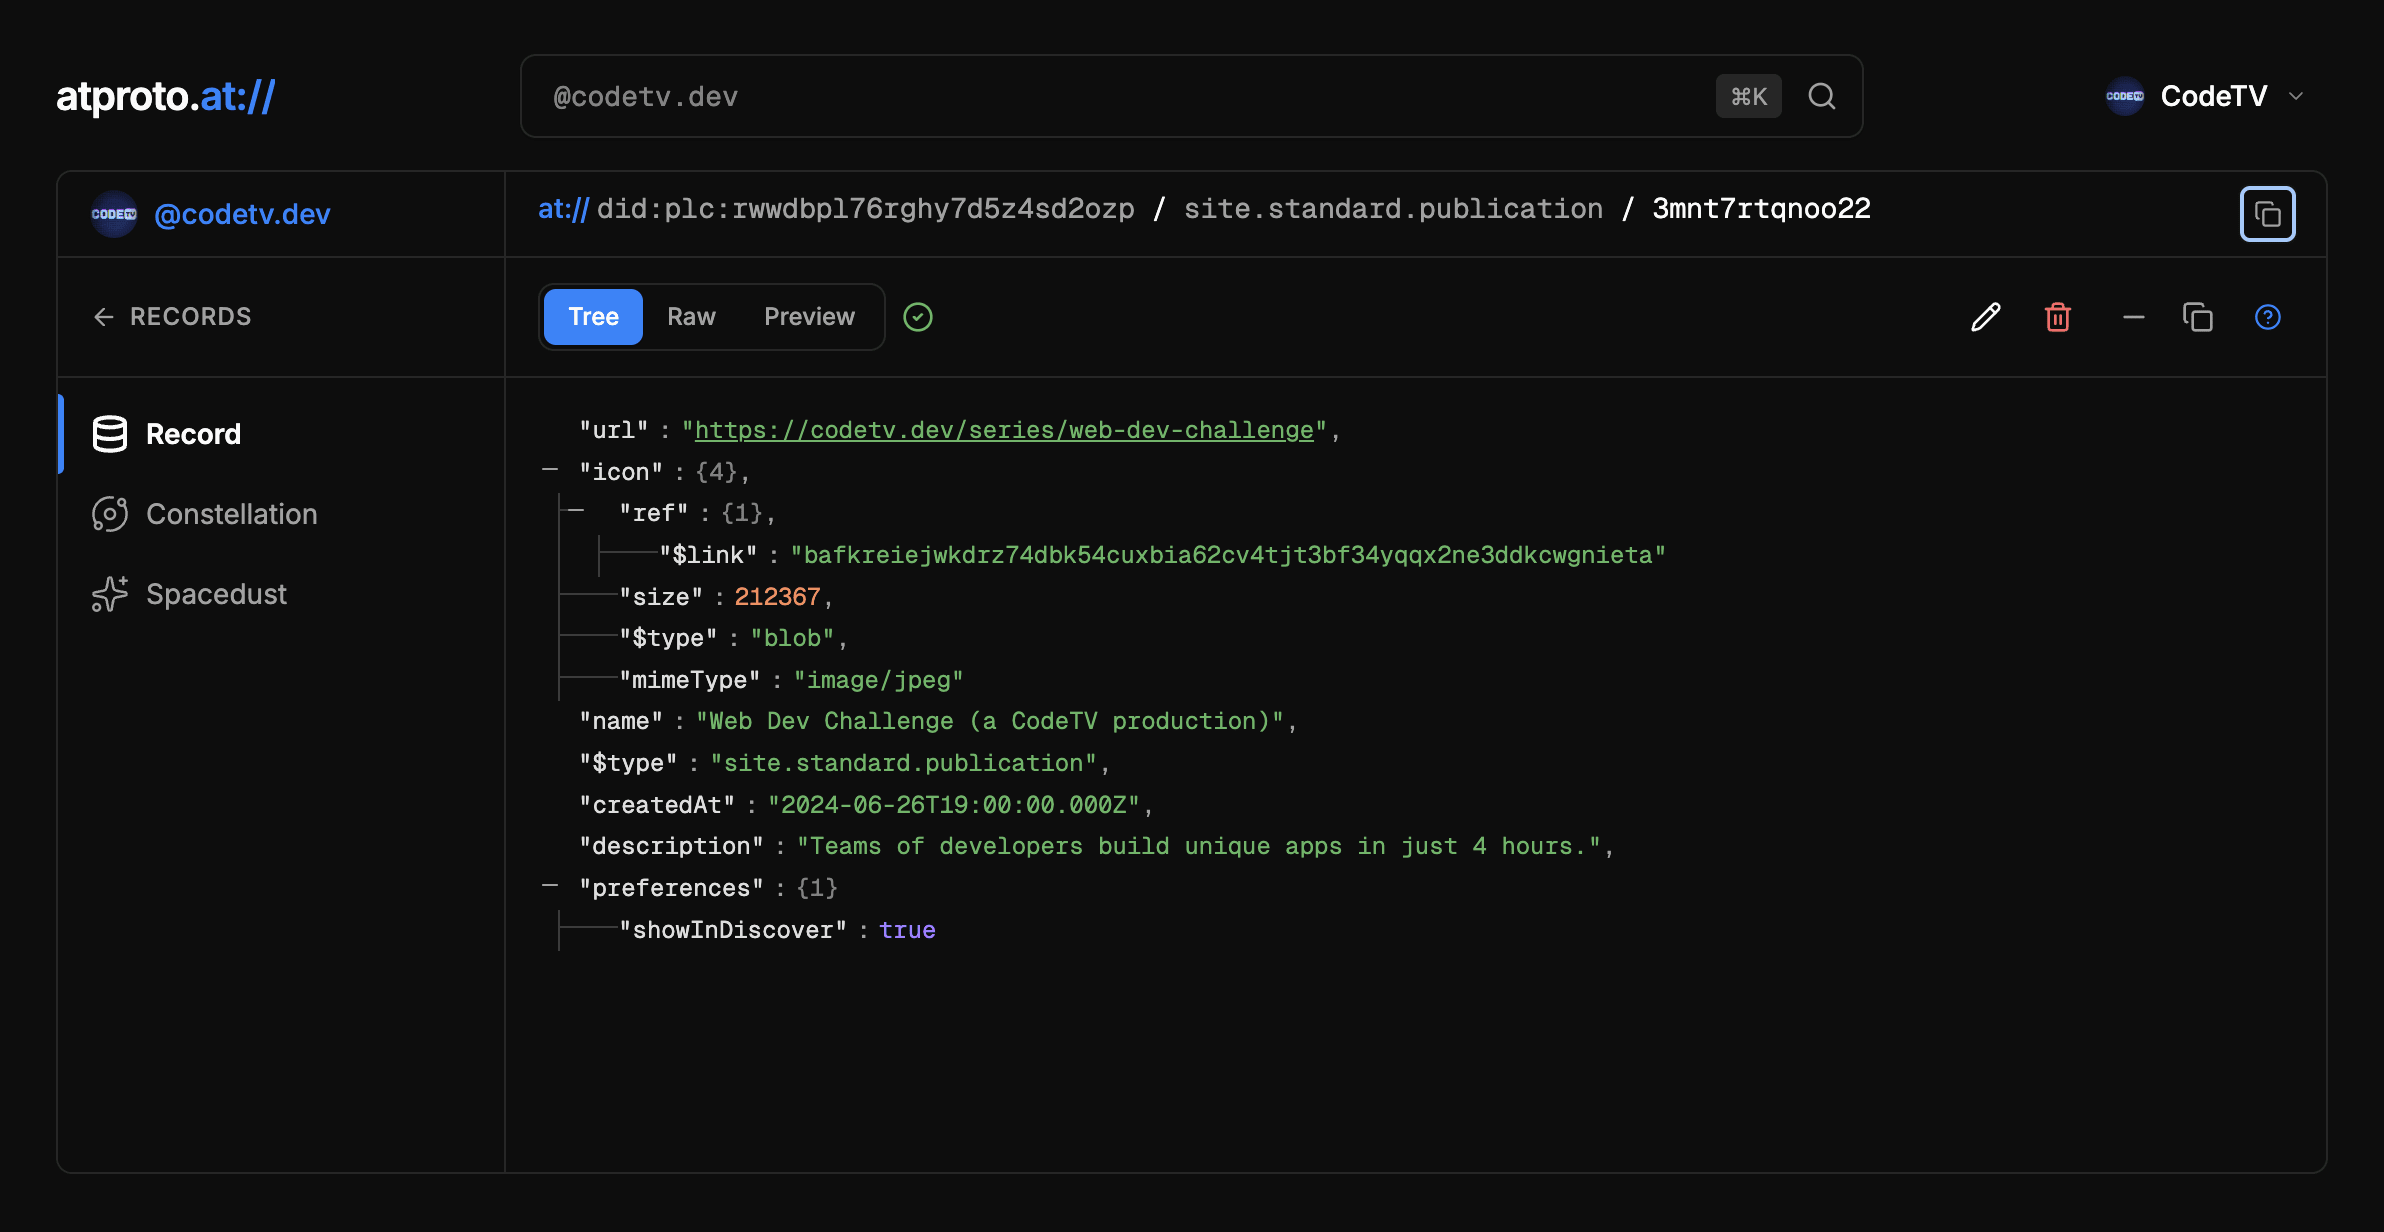
Copy the newly created at:// URI using the button at the top right.
Step 3: Verify the publication on your website
This is the part that’s different for multiple series: in the default scenario, we’re told to create a file at .well-known/site.standard.publication, but when we’re dealing with multiple publications we need to create additional nested folders.
Instead of making a document called site.standard.publication, make it a directory. Inside, add new directories to match the path to each publication, with the final part of the URL path becoming the file.
In CodeTV’s case, we created the verification file at .well-known/site.standard.publication/series/web-dev-challenge for Web Dev Challenge. (If you want, you can see the verification file here.)
at://did:plc:rwwdbpl76rghy7d5z4sd2ozp/site.standard.publication/3mnt7rtqnoo22Step 4: Repeat for each publication
To add additional publications, repeat these steps and add a new verification with the new at:// URI for each publication at its corresponding path inside .well-known/site.standard.publication/.
Adding documents to a publication
Adding a document to the publications is no different than if you have a single publication, but for the sake of completeness I’ll run through it here.
Step 1: Create a Standard Site document record
Use the Standard Site document lexicon to define a document record.
{ "$type": "site.standard.document", "site": "at://did:plc:rwwdbpl76rghy7d5z4sd2ozp/site.standard.publication/3mnt7rtqnoo22", "path": "/s3/e4-rebuild-your-website-again", "title": "Rebuild your website (again) | Web Dev Challenge Season 3", "description": "Reclaim your lil corner of the internet with an atproto-powered website. Watch community devs build their own atmospheric websites on Web Dev Challenge from CodeTV.", "textContent": "If we’re being honest — like, really honest — we all just kinda want to ignore all our work and redesign our personal sites for the hundredth time. So… let’s do that.\n\nThese days, it’s hard to know where we belong online. Platforms that used to feel open are locking down, and we can’t assume that everyone we meet has an account on every platform. We need a home online that’s actually ours: a personal website.\n\nThe only downside to a personal website has historically been that they’re hard to keep up to date, especially with all the social media giants restricting their APIs. But now, with the AT Protocol, we have a chance to actually own our data again, and use our activity across the whole “atmosphere” anywhere we want — including on our personal websites.", "publishedAt": "2026-06-16T07:00:00+00:00", "tags": [ "Web Dev Challenge", "CodeTV", "AT Protocol" ]}Step 2: Publish the record
I used Taproot for this step.
Step 3: Add a link metatag to the head of the published content
On your website, add a link metatag with the at:// URI of the document record:
<link rel="site.standard.document" href="at://did:plc:rwwdbpl76rghy7d5z4sd2ozp/site.standard.document/3mntaeshvrd2u"/>Step 4: Validate that everything worked
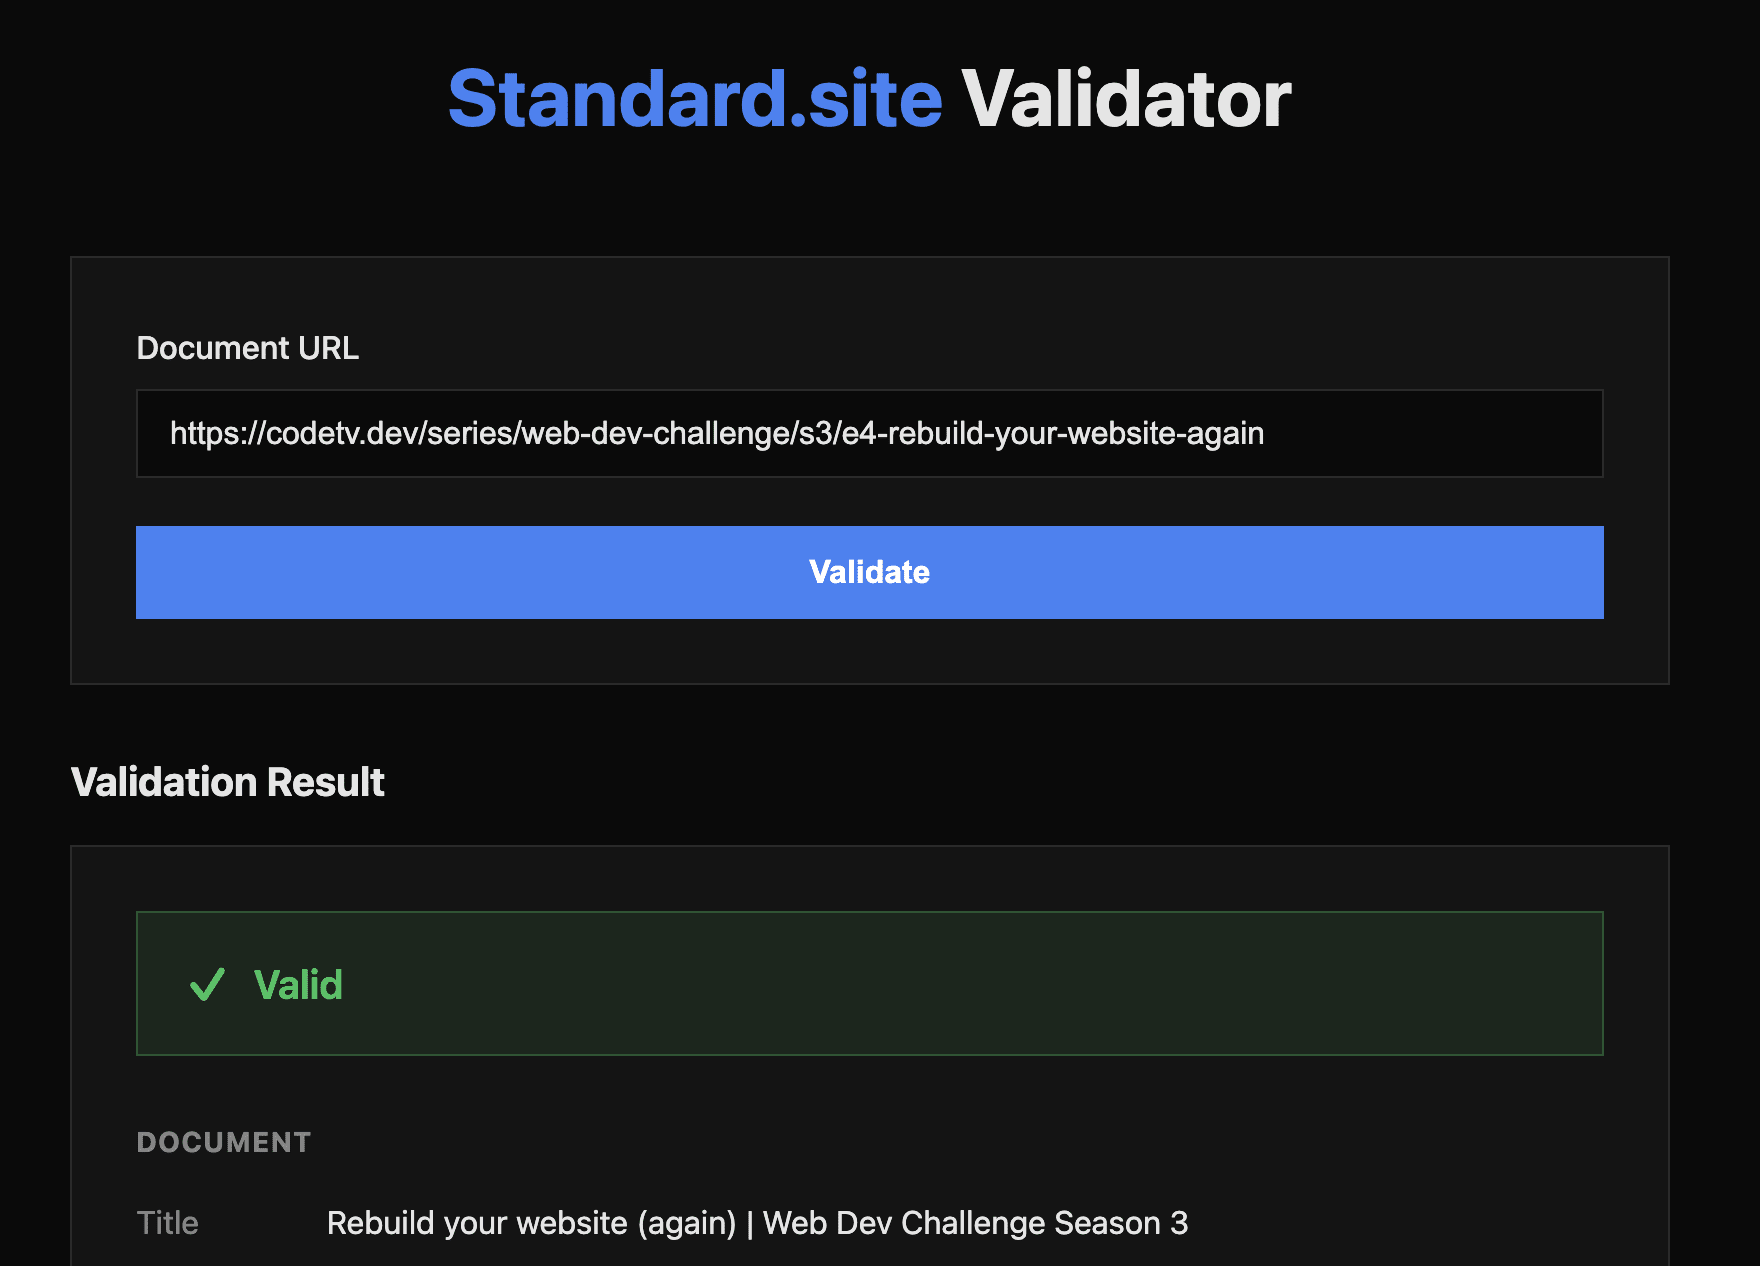
Once your site is published with the .well-known publication records and the link tags for your documents, you can validate that it all worked using the Standard Site validator.
Heads up: different authors aren’t supported yet
One big thing that caught me off guard is that you can’t specify an author for a blog post. That means the publication (in my case, CodeTV) will be listed as the author. There’s no way around that right now, though there are discussions about how to solve this.